15
Sep
This is one Hitachi HDT725040VLAT80 Hard Drive Head Swap case study and the following are detailed steps to install/uninstall the heads from this drive.
Please note: To open hard drive requires professional clean room environment and head swap tools. Within this case, users can use either the level 1 or level 2 head comb suite.
HDD ID: Hitachi HDT725040VLAT80
400GB, 3 platters and 6 heads.
Hitachi Head swap steps:
1, Remove the Hitachi hard drive cover;
2, Remove the top magnet of the voice coil motor;
3, Remove the ribbon cable;
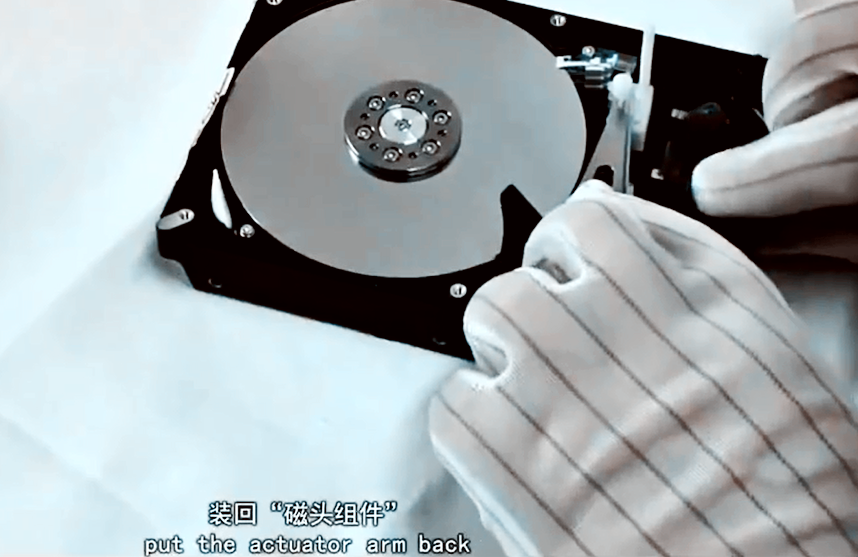
4, Insert the head comb into the heads to separate the heads and adjust the position;5, Insert the locking pin to fix the head arm and head comb;
6, Remove the bottom screw that holds the actuator axis;
7, Remove the whole HSA;
8, Install the donor HSA to the patient hard drive;
9, Put the cover back and install the screws.
Download The Whole PDF File For The Image Guides Here on how to swap heads on a Hitachi HDT725040VLAT80 hard drive.